There’s something about a row of sparkling icicles that takes me right back to Midwestern winters, when the porch roof would glitter at sunrise and everything looked a little hushed and enchanted. This hot glue icicle garland gives you that same frosty charm without any cold fingers, and it’s one of those wonderfully simple projects that looks far fancier than the effort it takes.
I especially love this for folks who want quick winter décor that feels homemade in the best way. By laying the twine right on the wax paper first, the whole garland comes together as you make each icicle, so there’s no fiddly assembly afterward. It’s easy, inexpensive, and just magical once the glitter catches the light.
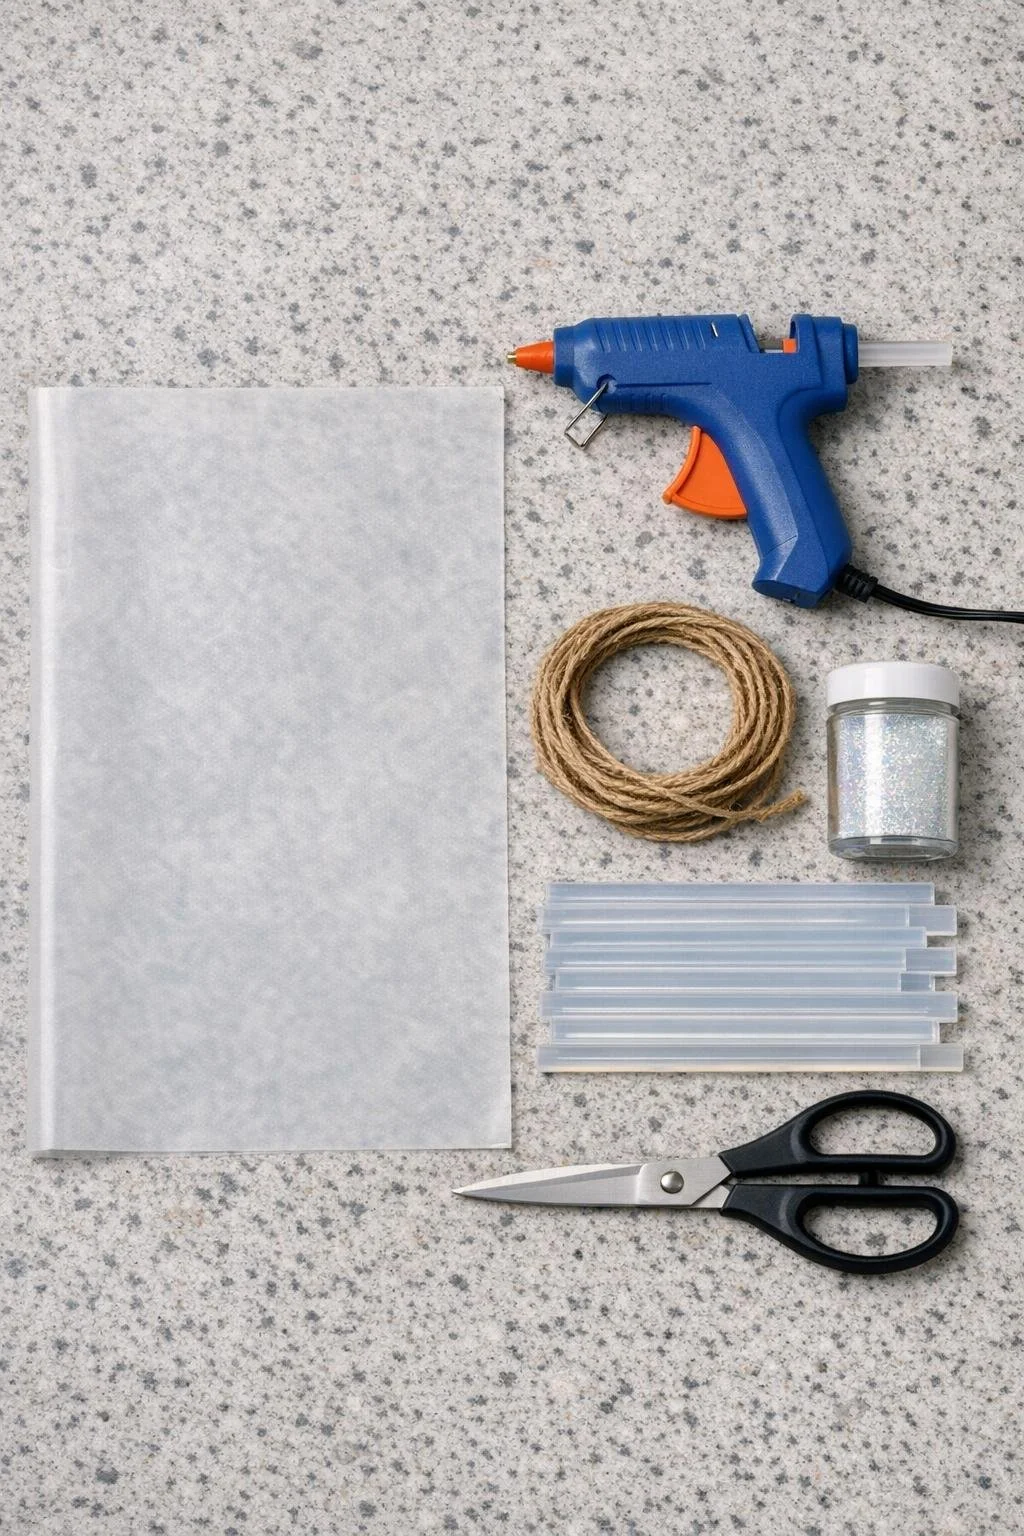
1 sheet wax paper, 12 x 18 inches
1 length natural twine, 6 feet long
10 to 12 clear full-size hot glue sticks, 4 inches each
1 tablespoon iridescent fine glitter
1 hot glue gun, high-temp or dual-temp
1. Spread the 12 x 18-inch sheet of wax paper flat on your counter with the long side facing you, and plug in the hot glue gun so it fully heats.
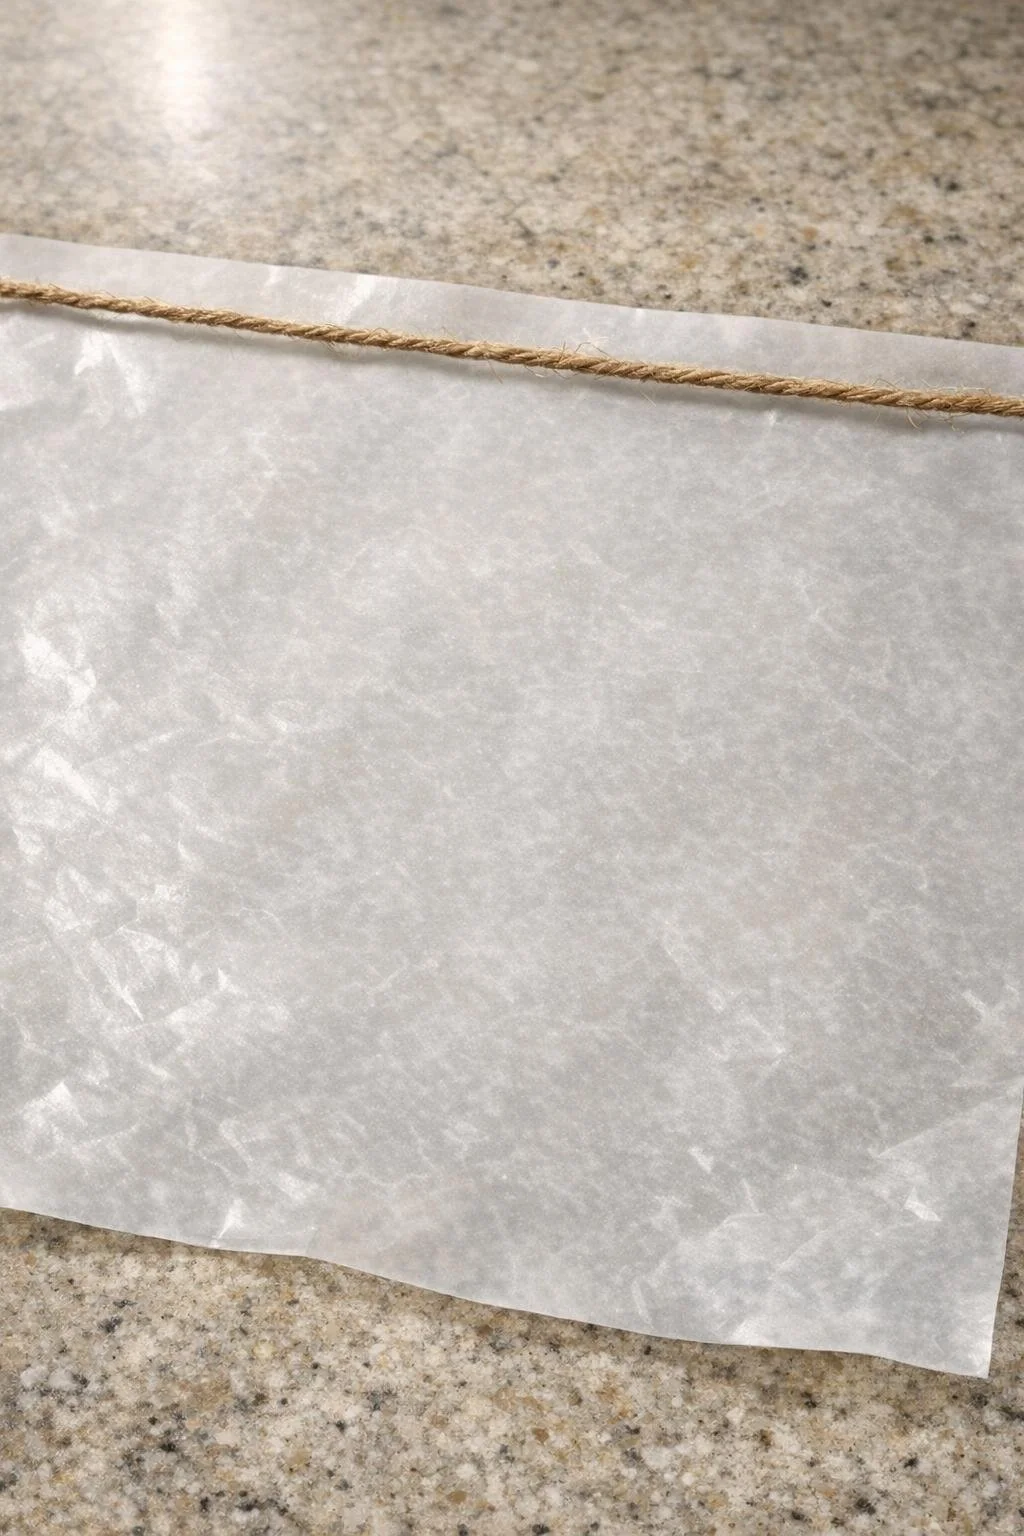
2. Lay the 6-foot length of twine straight across the top portion of the wax paper, leaving a little extra at each end for hanging.
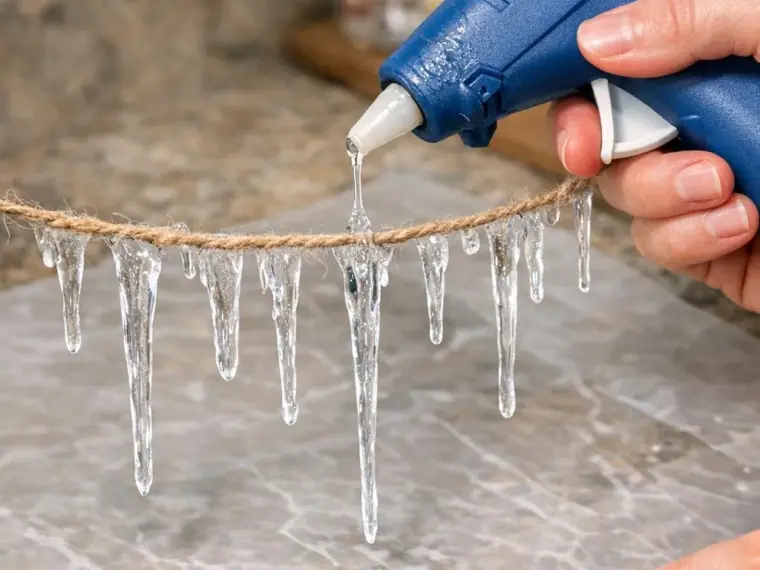
3. Start the first icicle directly on the twine by squeezing out a generous bead of clear hot glue at the top, then drag the glue downward into a tapered point 3 to 8 inches long.
4. Repeat across the twine, varying the icicle lengths and spacing a bit so they look natural, with each one thick at the top and narrow at the tip like real ice.
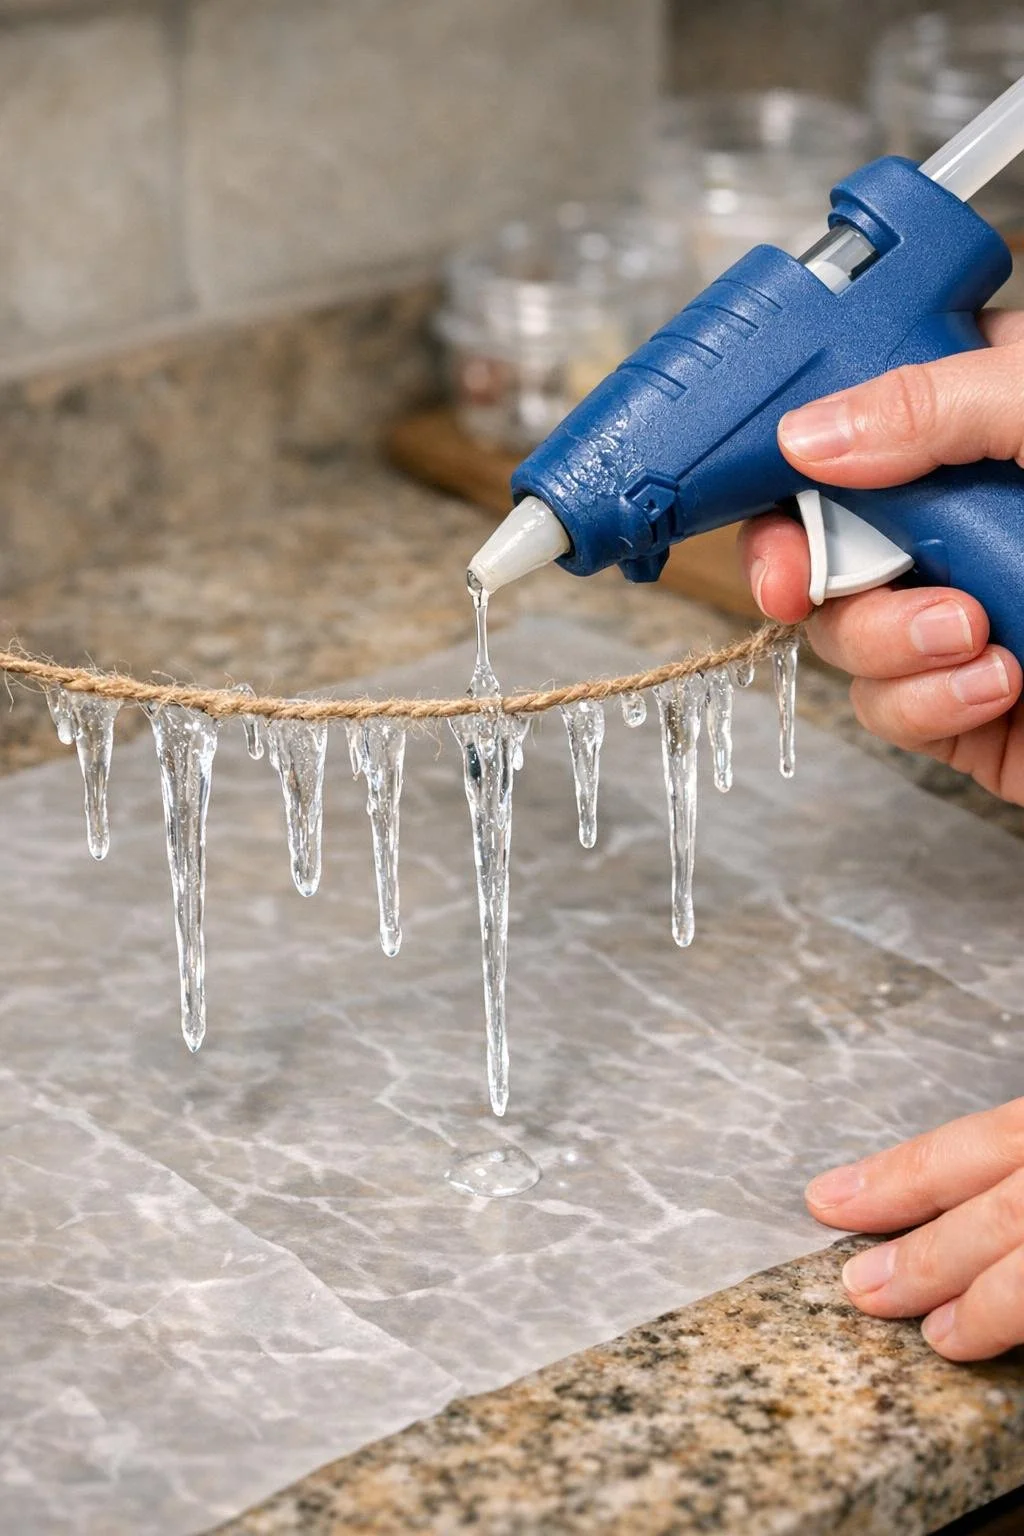
5. While the glue is still wet, sprinkle a light dusting of iridescent glitter over each icicle so the sparkle sticks right into the surface.
6. Go back over each icicle with a second pass of hot glue if you want chunkier, more crystal-like shapes, keeping the tops fuller and the ends pointed.
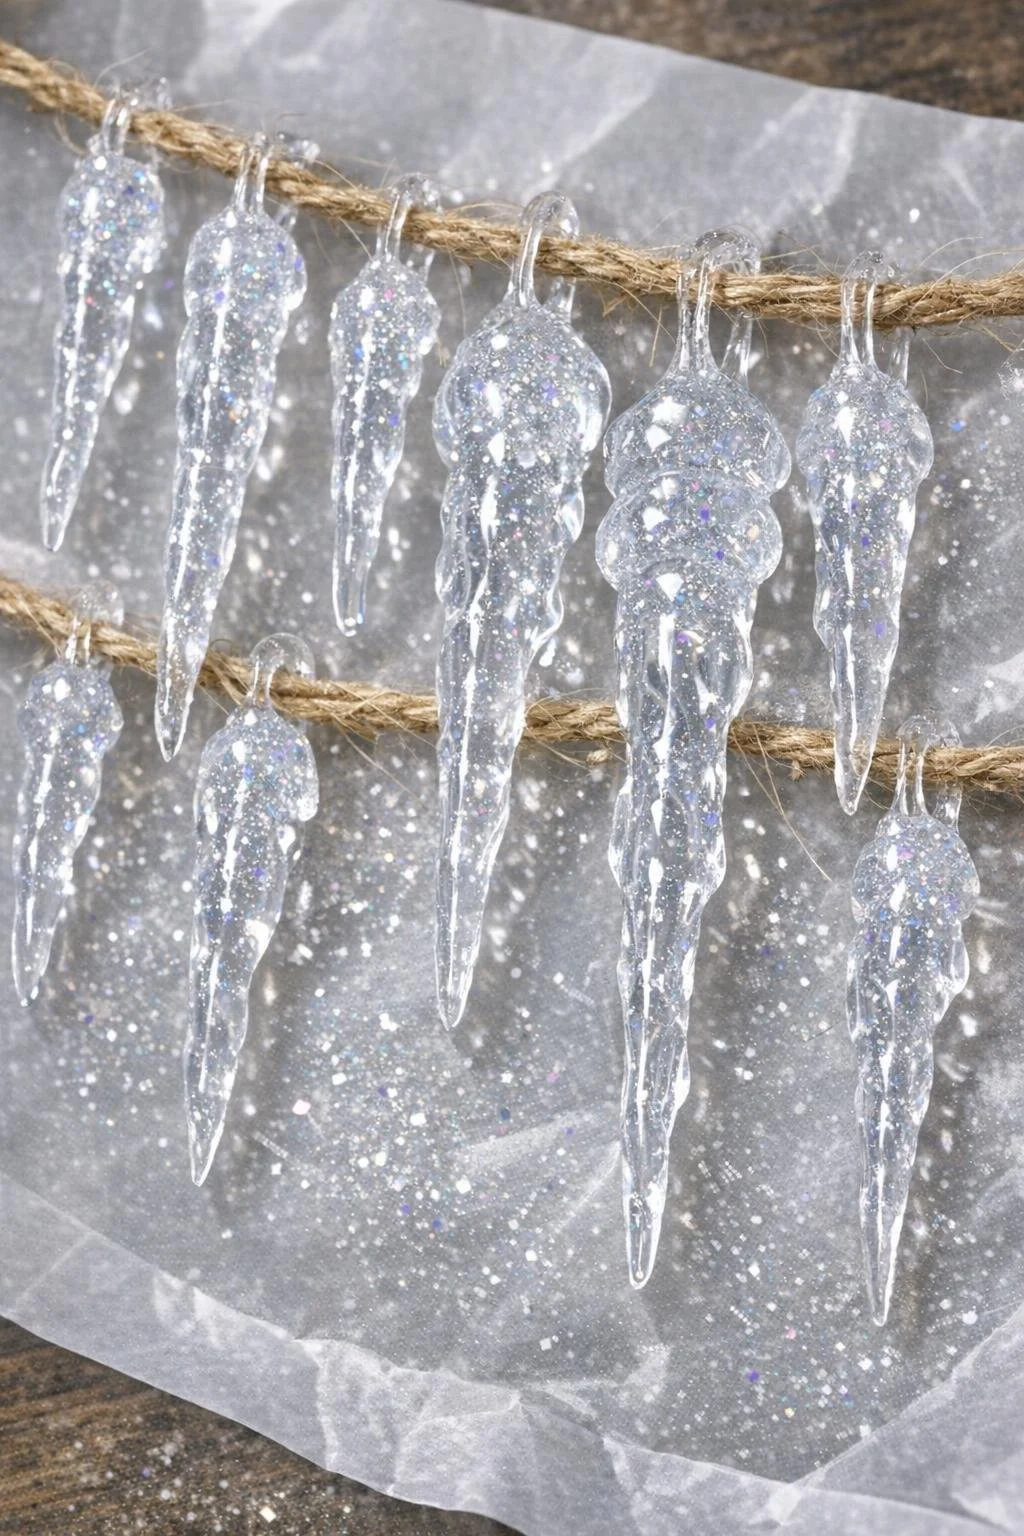
7. Let the whole sheet sit undisturbed until the glue is fully cool and firm, which usually takes about 10 to 15 minutes.
8. Gently peel the cooled icicles from the wax paper, lifting from the twine so the entire garland comes up in one piece.
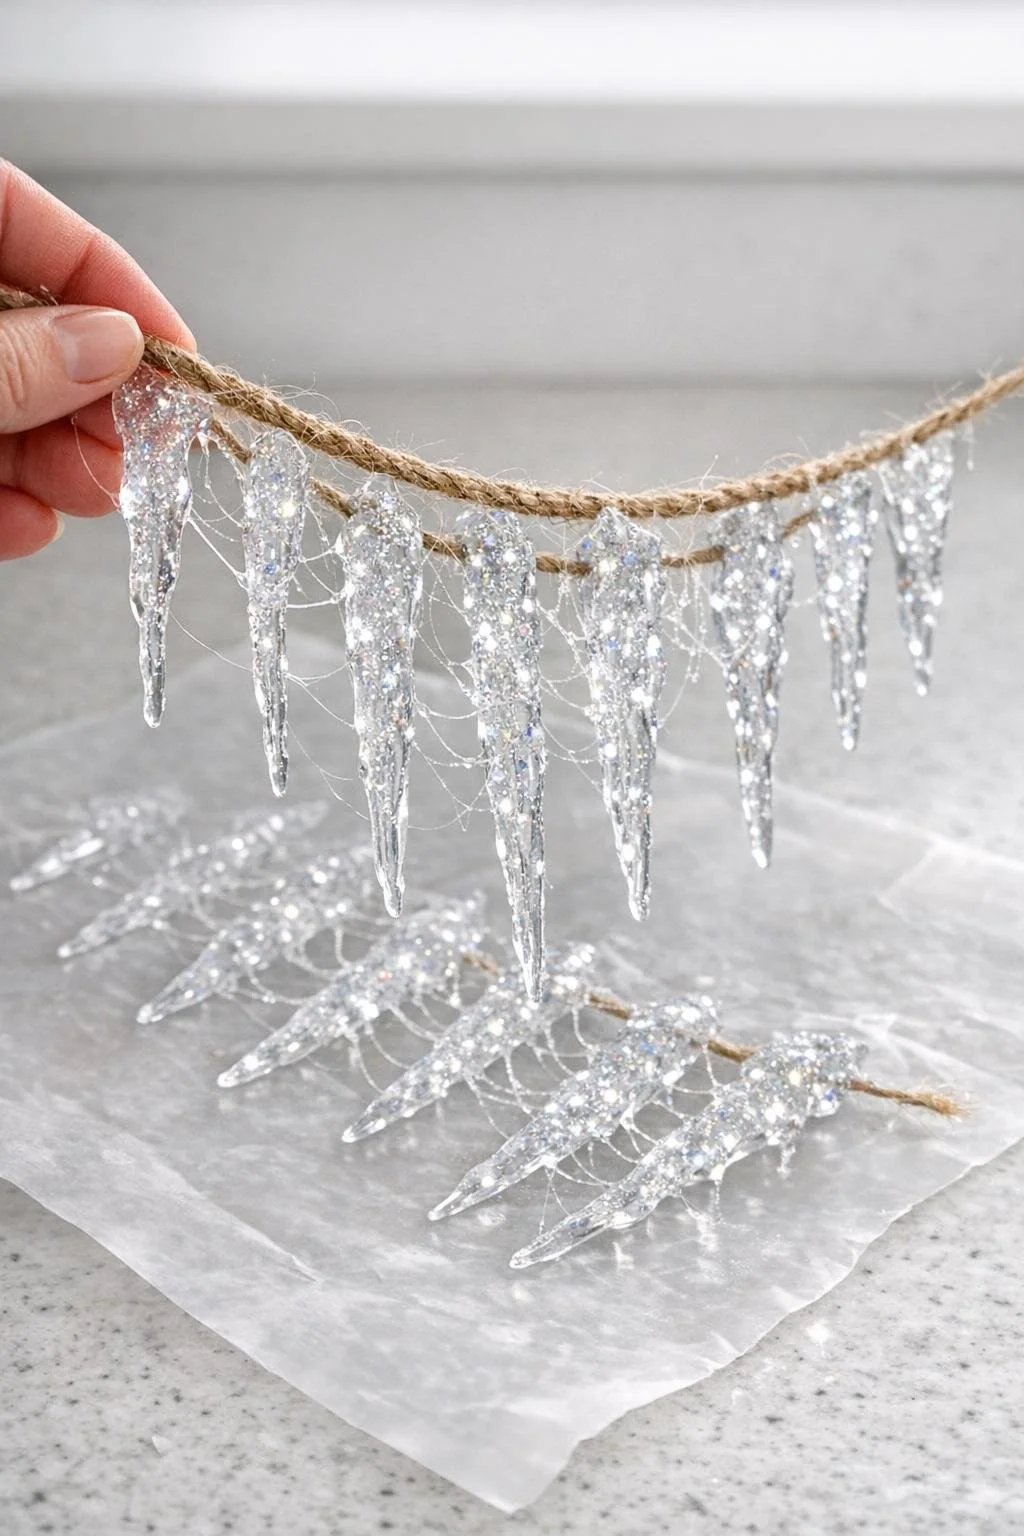
9. Trim away any unwanted glue threads only if they bother you, but I often leave the wispy strings because they look like little traces of frost.
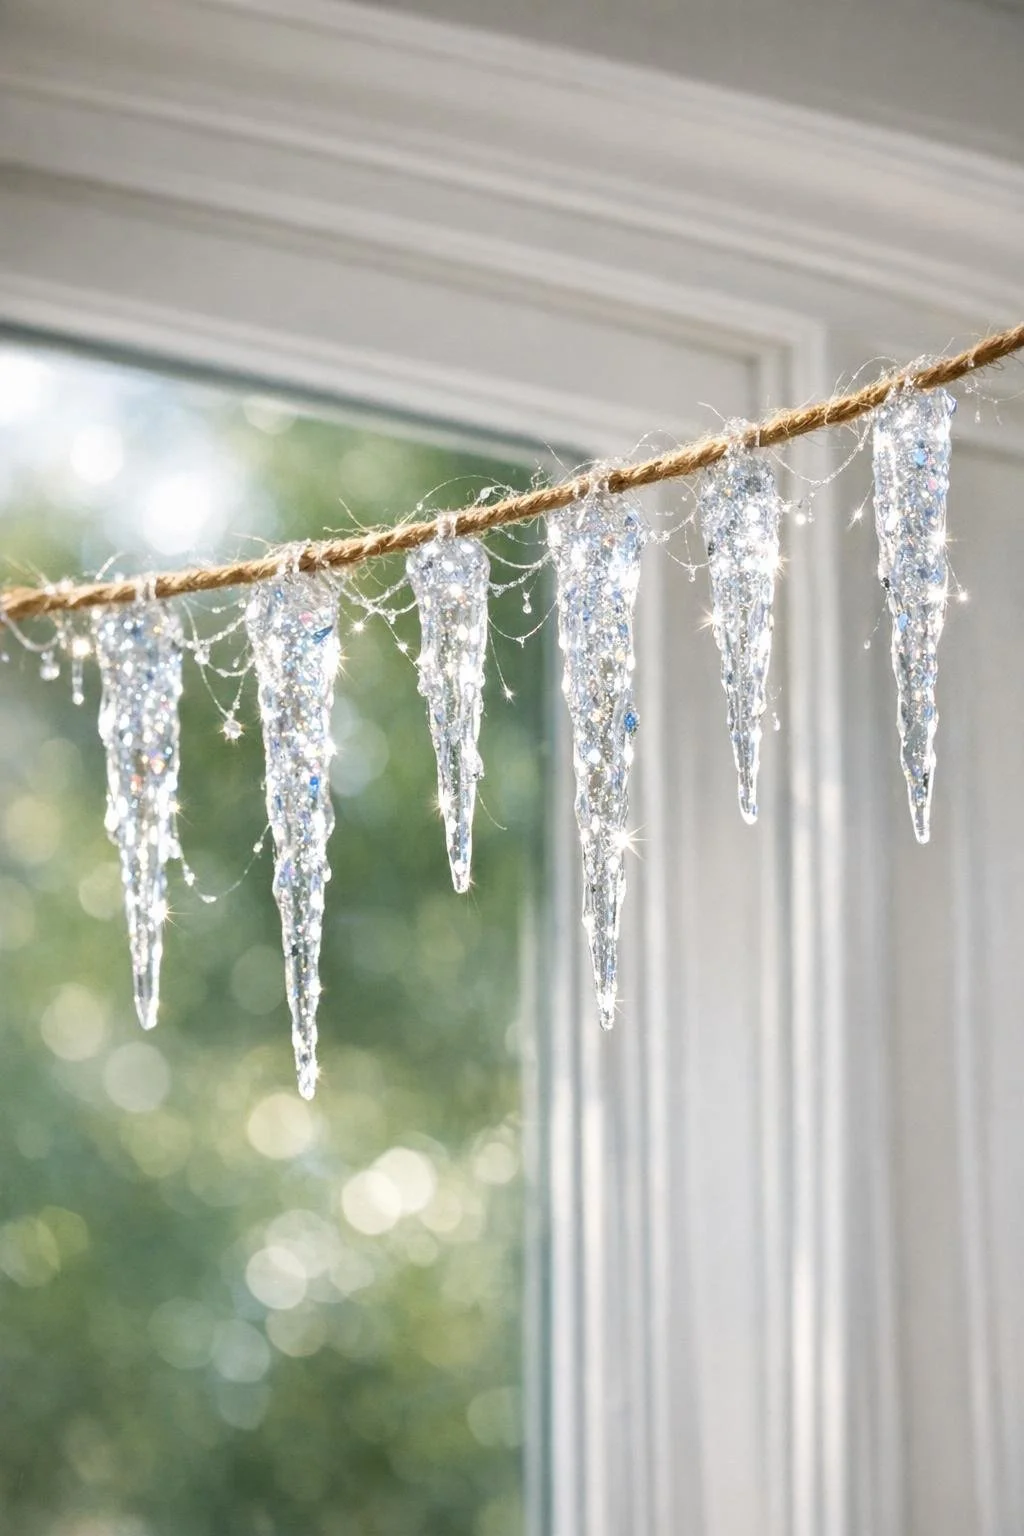
10. Drape the garland across a window frame, mantel, or covered porch rail where the light can catch the sparkle.
Variations & Tips
For fuller icicles: Make a second glue pass on every piece after the first layer sets for a few seconds. That extra thickness helps the icicles catch more light and feel more like real frozen drips.
For a softer sparkle: Use just a pinch of fine glitter instead of a heavy coating. I find a light hand gives you more of an icy gleam than a craft-project shine.
For natural-looking shapes: Vary the lengths between 3 and 8 inches and avoid making them too evenly spaced. Nature is never that tidy, and the slight irregularity is what makes the garland believable.
About the glue strings: Those fine threads that stretch between icicles are part of the charm here. The same little webs that can be a nuisance in other glue projects look like frost in this one, so I say leave them whenever you can.
Best place to hang it: Keep this garland indoors or on a covered porch rail. Clear hot glue can yellow a bit after a few weeks in direct sun, so a sheltered spot will keep it prettier longer.
Easy seasonal use: I like to tuck this along a mantel after the holidays, too, because it still feels wintry without shouting Christmas. It’s a sweet way to stretch that cozy season just a little longer.