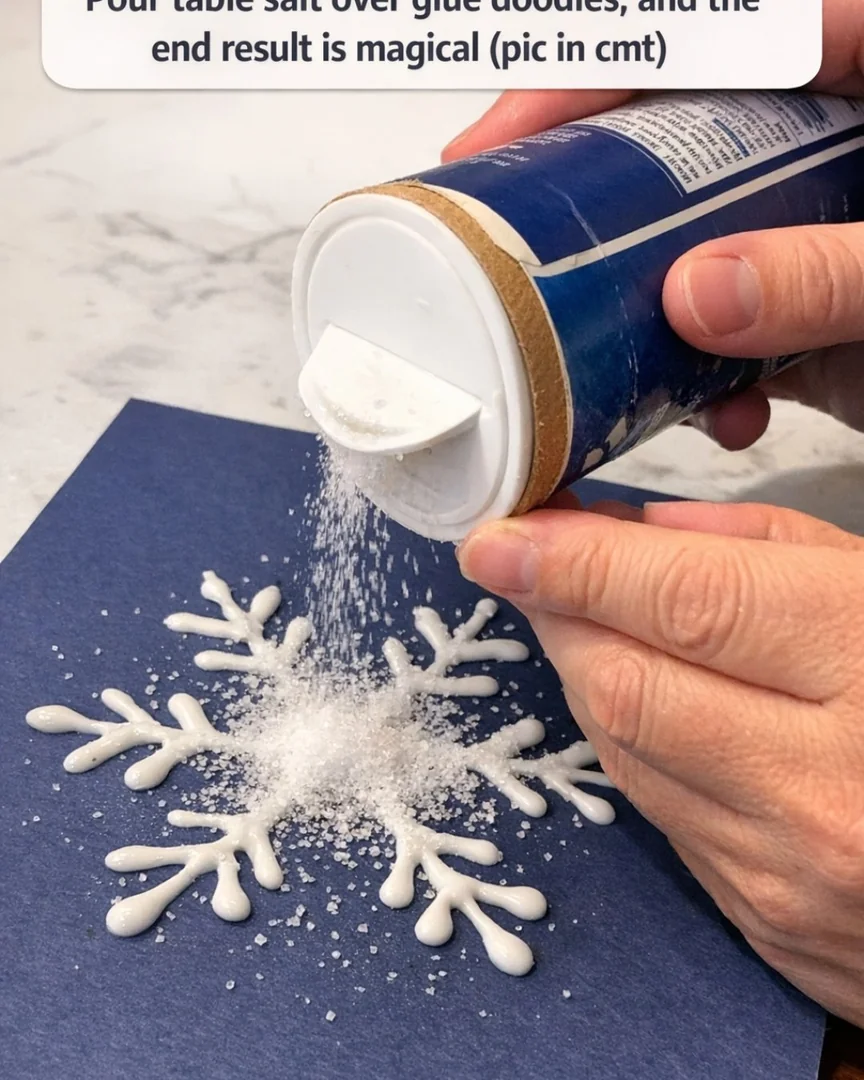
There’s a particular kind of winter magic in the Midwest that doesn’t need much more than a kitchen table, a sheet of paper, and something simple from the pantry. This frosted snowflake window art is one of those projects. You draw snowflakes straight from the glue bottle, shower them with plain table salt, and then let watercolor do the prettiest little trick all by itself when it touches those salty lines.
I love this one for families, grandparents crafting with little ones, classroom tables, or anybody who wants a low-cost winter project with a big payoff. The grown-ups can pipe the snowflakes, the kids can add the color, and that first reveal—when you tip off the extra salt and the snowflake appears bright and crisp—is every bit as satisfying as taking biscuits out of the oven at just the right minute.
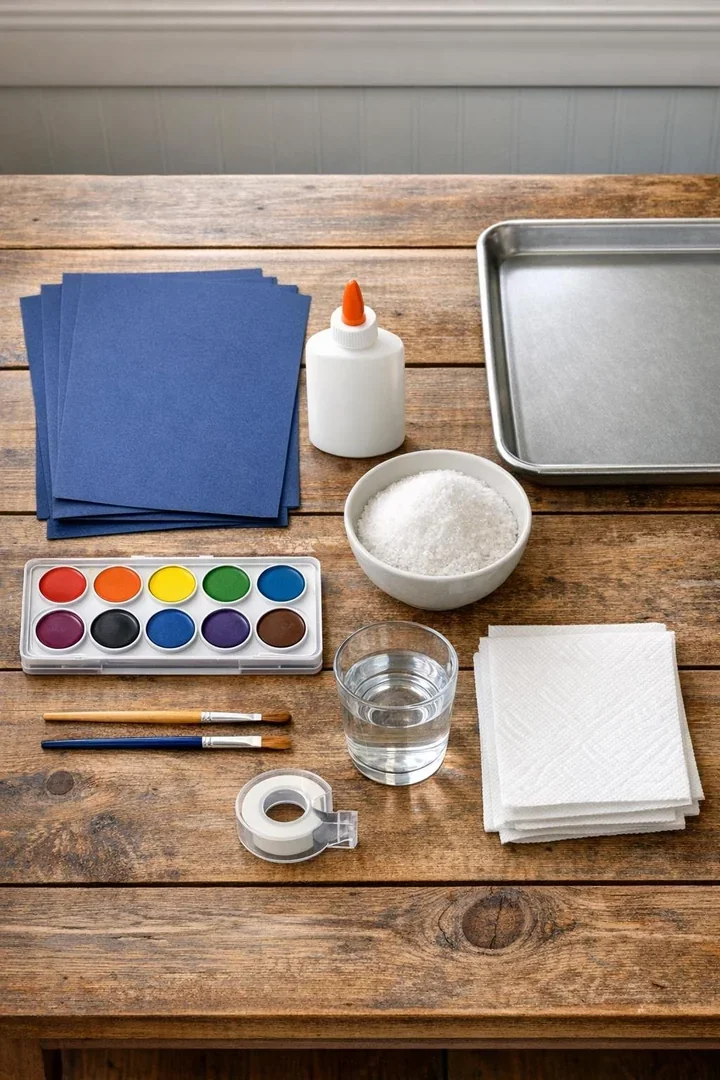
Materials
6 sheets dark blue cardstock, 8 1/2 x 11 inches each
Instructions
1. Set a sheet of dark blue cardstock on the tray so it catches the extra salt, and have your glue, salt, paint, and water ready before you begin. This goes best when everything is within easy reach because the glue needs to stay wet.
2. Draw the snowflake straight from the glue bottle in confident, continuous lines: make one center point, count out six arms, and add small branches to each arm so the shape stays balanced. Keep the lines slightly raised and about 1/8 inch thick so there is enough glue to hold the salt.
3. While the glue is still wet, pour table salt generously over the entire sheet until every glue line is completely covered. Don’t be stingy here; a full blanket of salt gives the best reveal.
4. Lift the paper carefully and tip the extra salt back onto the tray, letting the loose crystals fall away. The salt will cling only to the glue, and your snowflake will appear clean and frosty underneath—that’s the first reveal.
5. If needed, tap off one last little drift of loose salt, then lay the paper flat again. Make sure the salted lines stay undisturbed so the crystals remain thick and even.
6. Wet a watercolor brush, blot it once on a paper towel, and barely touch the tip to one salted line. The color will race along the salt crystals by itself, and that self-painting effect is the second reveal and the real showpiece of this craft.
7. Continue touching in color here and there rather than painting back and forth, using blues, purples, pinks, or turquoise for an icy look. Leave a little white salt showing in places if you want the snowflake to look extra frosted.
8. Make more snowflakes one sheet at a time, always drawing six arms and salting immediately after the glue lines are piped. Adults can handle the glue work while children add the watercolor touches.
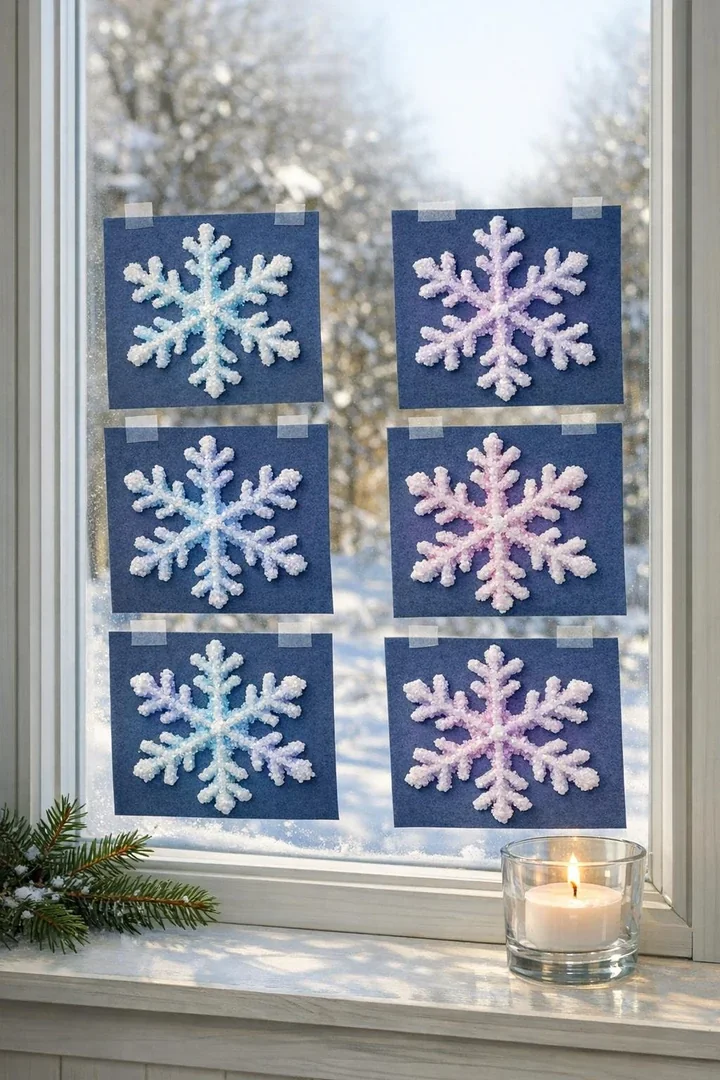
9. Dry the finished pages flat overnight where they won’t be bumped or bent. Once dry, tape them inside a window, slide them into frames, or display them on a flat surface because the salted finish is pretty but fragile.
Variations & Tips
For younger helpers: If little hands are joining in, I do the glue snowflakes myself and let the children take over for the salt pour and watercolor touch. That division keeps the shapes crisp and still gives kids the magical part.
Color choice: Cool colors look most like frost, but a little blush pink or lavender tucked into the tips is lovely too. I’d keep the palette to 2 to 4 shades per page so the snowflake stays bright instead of muddy.
Best paper: Dark blue cardstock gives the strongest contrast and holds up better than thin construction paper. If your paper is flimsy, the glue can make it buckle.
Glue control: If the glue bottle pours too fast, practice one snowflake on scrap paper first. Steady pressure and one continuous motion make prettier snowflakes than stopping and starting.
Salt amount: Use more salt than you think you need and return the extra to a bowl from the tray. A generous coat is what gives you that clean reveal after you tip the sheet.
Display idea: This art is best shown flat because dried salt crystals can shed if the paper flexes. Taping it inside a window, mounting it in a frame, or photographing it well and saving the picture are the smartest ways to enjoy it.
Make a series: I like making three to six matching snowflakes in the same color family for one window. A little row of them catches the winter light beautifully and looks far more impressive than a single sheet on its own.

