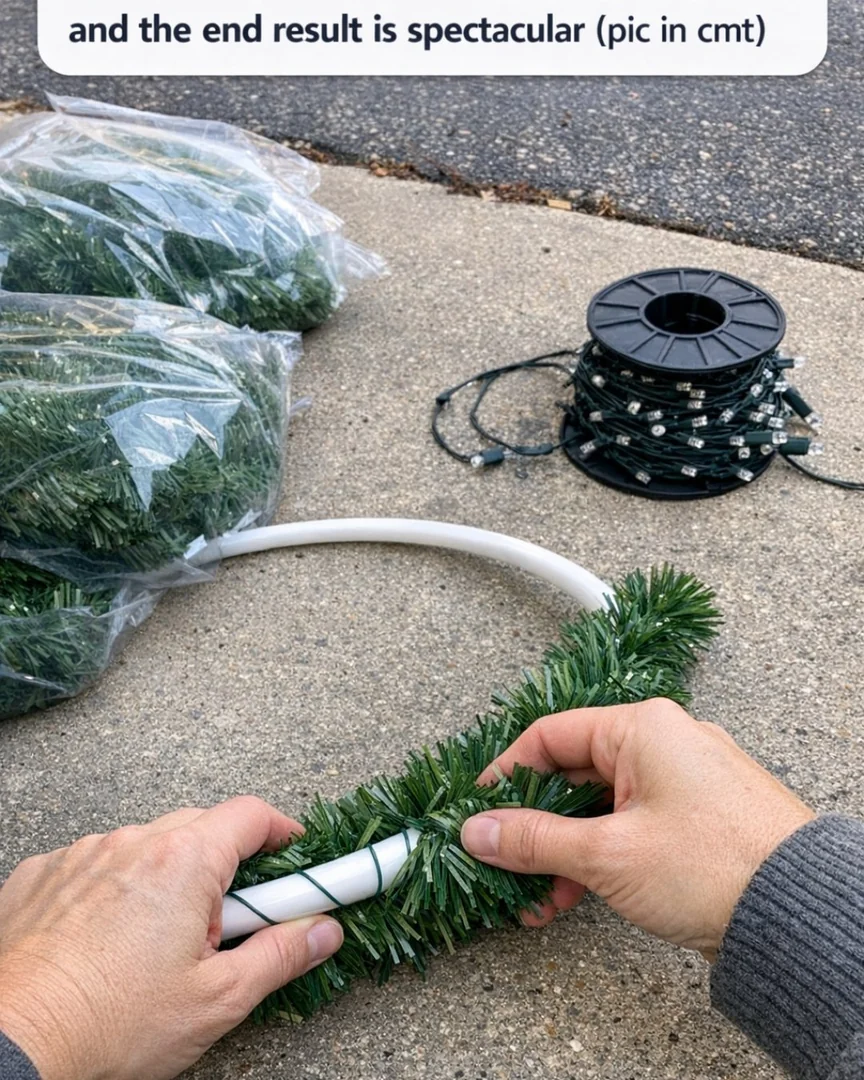
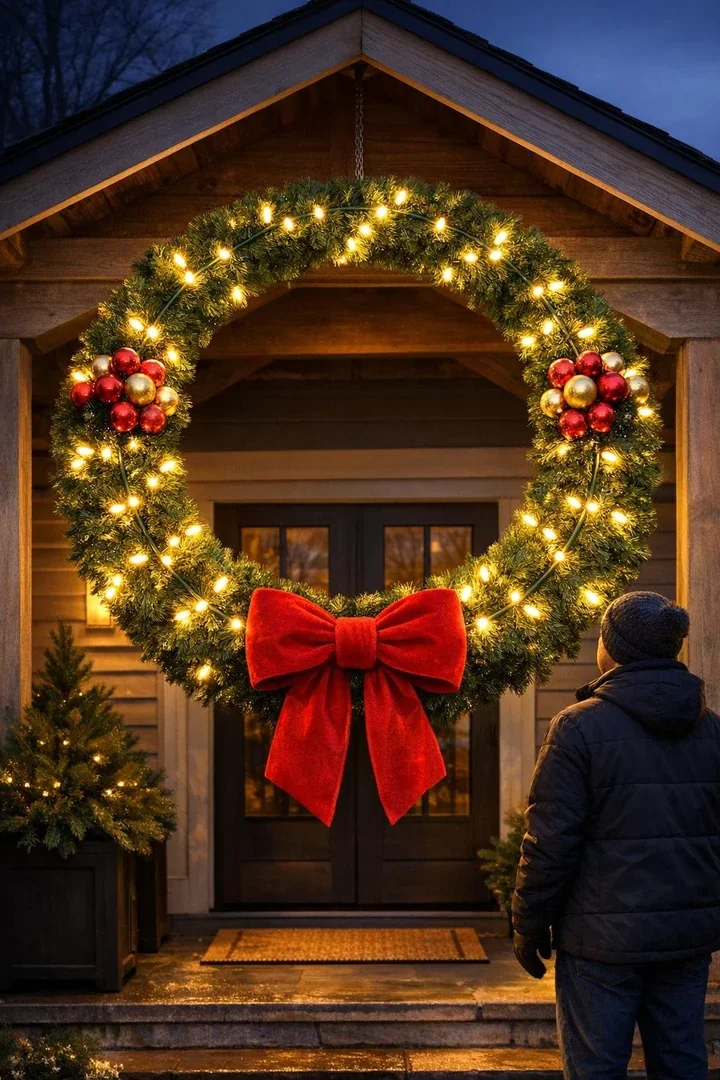
There are a lot of holiday projects that look promising in a supply pile and then fizzle out once they’re hung up. This is not one of them. A plain hula hoop wrapped densely in budget garland becomes an oversized glowing wreath with real presence, the kind of piece that can hold its own on a porch gable, a garage wall, or above a mantel without looking skimpy. The secret is coverage: once you overlap the garland tightly enough that no plastic hoop shows, it stops reading as a repurposed toy and starts reading as a dramatic holiday decoration.
I’m always drawn to projects that give you a restaurant-level payoff on a weeknight budget, and this one absolutely does that. For about $12 to $15 in dollar-store supplies, you can make a wreath that has the scale of those $150 oversized store-bought versions. It’s a very friendly build for beginners, but it still leaves room for the finishing touches that make it look polished: lights spiraled on top, a full bow, and ornament clusters placed right where the eye wants them.
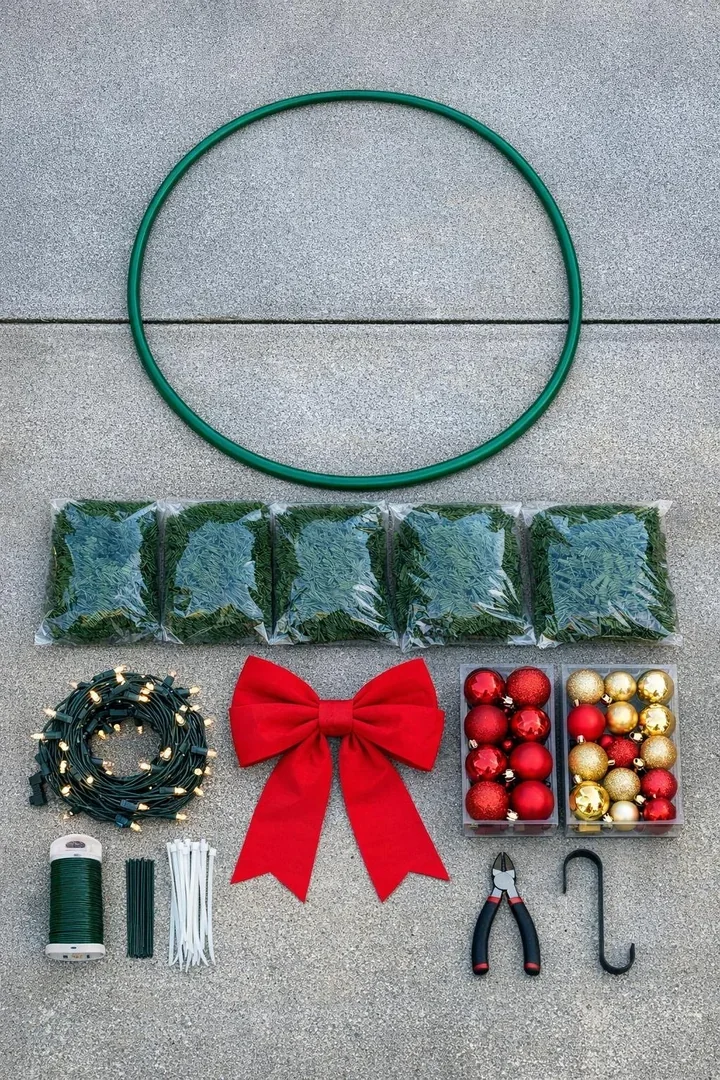
Materials
Instructions
1. Lay the hula hoop flat on a driveway, patio, or large floor area and fluff all four garlands so they look full before you start wrapping.
2. Wire the end of the first garland tightly to the hoop, then begin wrapping it around the ring in a diagonal spiral with each pass overlapping the last by about half its width.
3. Keep wrapping until the first garland ends, then wire that end down firmly and attach the second garland exactly where the first stopped so the spiral stays continuous.
4. Continue adding the third and fourth garlands in the same overlapping spiral until the hoop is fully covered and no plastic shows anywhere; 3 to 4 garlands is the honest minimum for a wreath that looks full instead of homemade in the wrong way.
5. Fluff and tug the branches outward all around the ring to hide the wrapping pattern and create an even, thick wreath shape.
6. Start the light strand at the lower back of the wreath, secure it with a twist of floral wire, and spiral the lights around the garland following the same direction as the wrap.
7. Space the lights evenly as you go, keeping them near the outer surface instead of burying them deep in the greenery, and finish with the battery pack or plug end at the top for easy hanging and power access.
8. Wire the bow securely to the bottom center of the wreath, cinching through the hoop and around the garland so it doesn’t slide once the wreath is upright.
9. Group the ornaments into 3 or 4 small clusters of 3 ornaments each, then wire each cluster where the garland spirals meet so they look tucked in naturally and visually balance the ring.
10. Turn the wreath upright and fill any thin spots by pulling nearby greenery over the gaps, then add one or two extra wire ties on the back anywhere the garland feels loose.
11. Twist the 24-inch hanging wire in half, attach both ends securely to the top of the hoop, and leave a centered loop for hanging; doubled wire gives this big wreath much better support.
12. Hang the wreath from a solid hook on a porch gable, garage wall, or above the mantel, plug in or switch on the lights, and step back far enough to enjoy the scale.
Variations & Tips
Color palette: Red and gold is classic, but silver and blue, all-white, or red-and-black buffalo plaid also work beautifully. I’d still keep the bow large and the ornament clusters limited so the wreath stays bold instead of busy.
Outdoor durability: Plastic garland and outdoor LED lights handle winter weather surprisingly well, which makes this one of the few fully outdoor builds I trust. If your bow is fabric rather than weather-resistant, spray it lightly with outdoor fabric protector before hanging.
If your garland looks thin: Add the fourth garland without apology. This project depends on dense wrapping, and thin coverage makes it look like a decorated hula hoop instead of a proper giant wreath.
Best hanging method: Use a solid screw-in hook, wreath hanger, or sturdy mantel hook rather than ribbon alone. On oversized pieces like this, doubled wire is one of those unglamorous details that prevents headaches later.
Light placement: I prefer warm white lights because they soften the plastic greenery and make the wreath feel fuller at night. If you use multi-color lights, spread the colors evenly as you wrap so one section doesn’t dominate.
Make it look more expensive: Tuck in a few extra evergreen picks, pinecones, or berry stems around the bow and ornament clusters. It’s the same trick as finishing a platter before it leaves the kitchen: a little garnish creates a much richer final impression.

